The paper tube compression test steps of the paper tube compression testing machine are as follows:
1. Sampling
First take the sample (the height cannot exceed the maximum distance between the upper and lower platens)
2. Modify parameters
(1) When entering the paper tube compression testing machine test selection interface, the cursor will first be fixed at the position of “5. Paper tube compression resistance”, directly press the “OK” button to enter the test parameter setting interface. At this time, the cursor is fixed at the position of “1. Test parameters”, and after pressing the “OK” key, it will enter the paper tube compressive strength parameter setting interface. (Note: If you do not need to modify the quantification, go directly to the next step) If you need to modify the quantification, first press the “Enter” key, then press “→” to move the cursor to select the digit, and then press “↑” to modify the number, (press this key The number changes from 0 to 9 cyclically), after the modification, press the “Enter” key to save, and then press the “Return” key to return to the parameter setting interface. (Note: If you need to modify the group number, you can enter the system parameter interface, and you do not need to go directly to step 3)
(2) To modify the group number, press the “↓” key to move the cursor, select the position of 2. System parameters, and press the “Enter” key. Press the “↓” key to move the cursor, select the position of 2. group number, first press “OK”, then press →” to move the cursor to select the number of digits, and then press the “↑” key to modify the number, (press this key to change the number from 0 to 9 Circular change). After modification, press “Enter” key to save.
3. Start the test
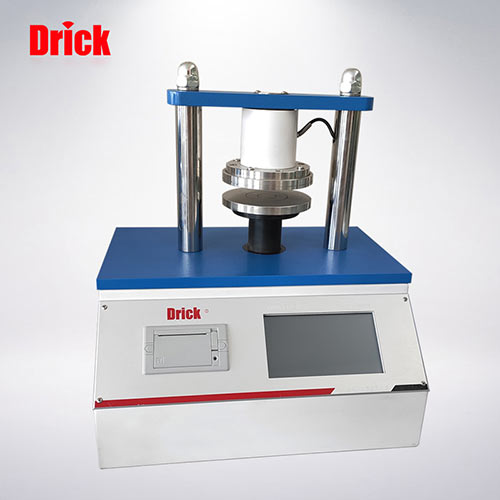
(1) Place the paper tube sample horizontally in the middle of the platen of the lower paper tube compression tester.
(2) Press the “Experiment” key to enter the test standby interface: at this time, press the “→” key to reset the pressure value; press the “↑” key to modify the number.
(3) Press the “Up” button to adjust the distance between the upper and lower platens to a suitable position. When the upper platen is about 1-2mm away from the sample, press the “Stop” button.
(4) After the above adjustment is reasonable, press the “Experiment” button to start the test, and the test interface is as follows;
(5) The pressure rises slowly, the machine stops automatically, and the lower pressure plate returns to the starting position;
(6) After finishing the test, print the data and press “Print” to enter the print selection interface. Press “↓” to move the cursor, select single or print (one experiment, select single, multi-group experiments, select statistics), and then press “OK” to start printing.
Send your message to us:
Post time: Jul-28-2022